/ Knowledge Base

Ask A Pro

Step-by-step instructions written by our pro team — prep, application and maintenance for every Modern Garage product.

/ 01

General Detailing Rules

Two-bucket wash, always

One bucket of shampoo, one of clean rinse water, both with grit guards. The single-bucket method drags grit back into the paint and creates swirls.

Top-down, straight lines

Wash, dry, polish and coat in straight overlapping passes from cleanest panel (roof) to dirtiest (rockers). Circular motions are an SEO myth from the 1980s.

Decontaminate before you protect

Iron fallout and bonded contaminants live below the visible surface. Skip the iron remover + clay step and you'll lock contamination into the coating.

Control your environment

Indoor, 15–25 °C, low humidity, no direct sun. Pollen, dust and falling temperatures will ruin a perfect application.

Quality of light = quality of finish

A 5000 K swirl-finder LED reveals 90% of defects you'll miss in shop fluorescents. Inspect after every step.

Don't mix product families

Spray waxes, sealants and ceramic toppers don't always layer. Stick to one ecosystem per finish for predictable cure and bond.

Tools matter more than chemistry

A $300 polisher + $10 pads beats a $300 wax + worn pads every time. Soft, plush microfibers (350+ gsm) protect more than any spray.

Maintain on a schedule

Weekly rinse-and-dry, monthly decon spray, quarterly ceramic top-up. Detailing isn't an event — it's a calendar.

/ 02

Product Guides

Onyx Ceramic Coat01 / 06

Onyx Ceramic Coat

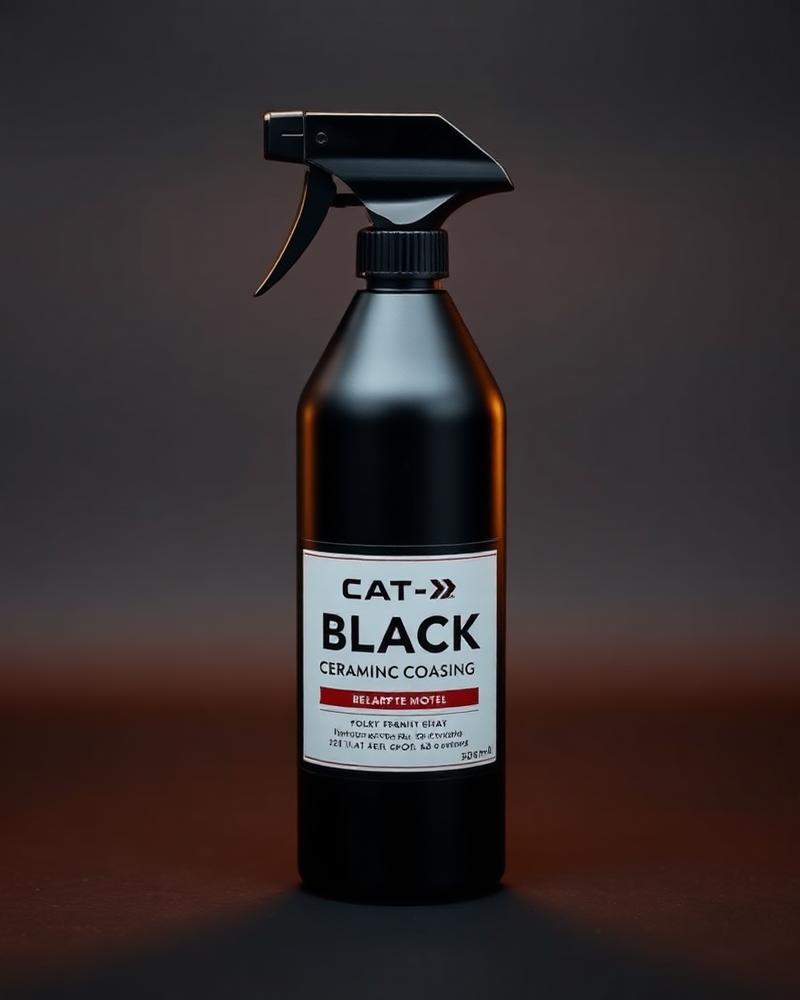
9H SiO₂ coating · up to 3 years protection

Prep

  • Wash thoroughly with pH-neutral Foam Cannon Soap and rinse cold.
  • Decontaminate with iron remover and a clay bar — paint must feel glass-smooth.
  • Polish to remove swirls; the coating locks in what's underneath.
  • Wipe down with a 50/50 IPA solution to strip all oils.
  • Work indoors, 15–25 °C, low humidity, panel cool to the touch.

Steps

  • 1Shake bottle for 30 s. Apply 4–6 drops to the suede applicator wrapped in a microfiber.
  • 2Work one 40×40 cm section at a time in a cross-hatch pattern (↕ then ↔).
  • 3Wait for the rainbow flash (typically 60–90 s, longer in cold rooms).
  • 4Level with a short-nap plush microfiber — flip to a clean side and buff again.
  • 5Move to the next panel. Re-apply a second layer after 1 hour for maximum gloss.

Pro Tips

  • Use two microfibers per panel: one to level, one to final-buff.
  • Inspect with a swirl-finder LED at a 45° angle to catch high spots.
  • Allow 24 h cure before driving and 7 days before the first wash.

Avoid

  • Never apply in direct sun or on a hot panel — it will flash too fast and streak.
  • Don't re-wet a cured high spot with more coating; polish it out instead.
Foam Cannon Soap02 / 06

Foam Cannon Soap

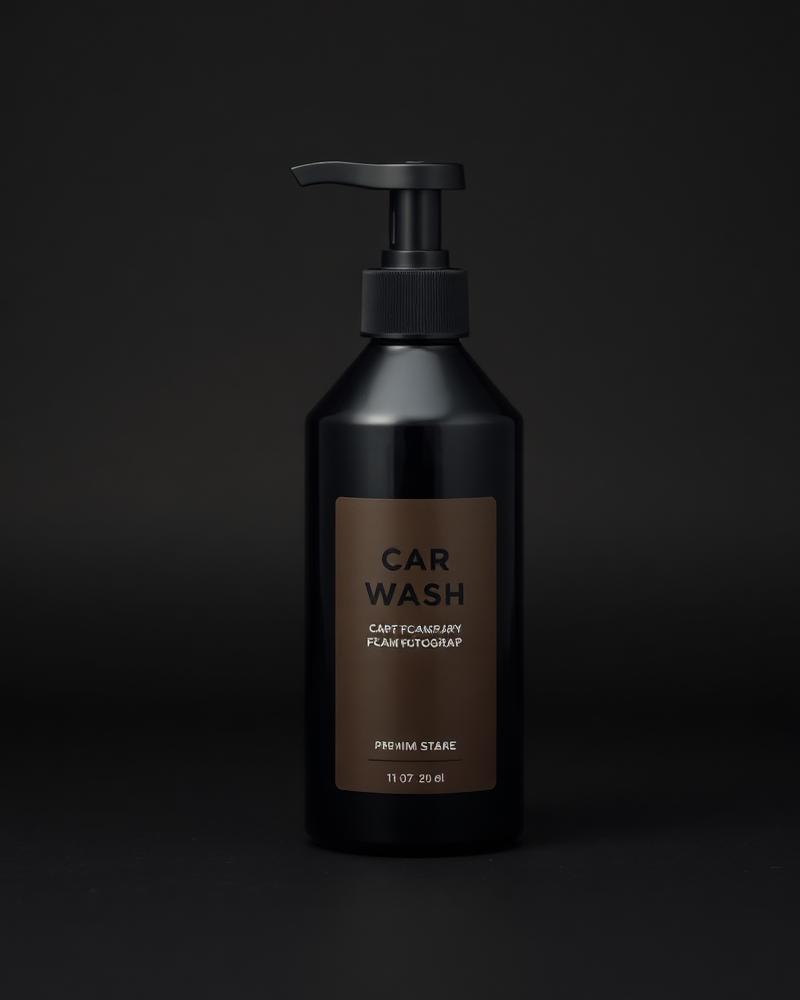
pH-neutral · safe on ceramic & wax

Prep

  • Park in the shade on cool panels — never wash a hot car.
  • Rinse loose dirt with a pressure washer or strong hose first.
  • Prepare two buckets: one with shampoo, one rinse-only, both with grit guards.

Steps

  • 1Mix 30–60 ml soap per 1 L water in the foam cannon canister.
  • 2Set the cannon to a thick, clingy foam and dwell for 3–5 minutes.
  • 3Rinse from the top down — most dirt leaves with the foam.
  • 4Re-foam and contact-wash with a plush mitt, top → bottom, straight lines.
  • 5Rinse thoroughly and dry with a clean microfiber drying towel.

Pro Tips

  • Use separate mitts for wheels and paint — never cross-contaminate.
  • In hot weather, work one panel at a time and re-rinse to prevent water spots.
  • Dry with a misted drying aid (1:20 ceramic spray) for added slickness.

Avoid

  • Avoid dish soap — it strips wax and dries trim.
  • Don't wash under direct sun; product will dry on the panel and streak.
Carnauba Wax 0203 / 06

Carnauba Wax 02

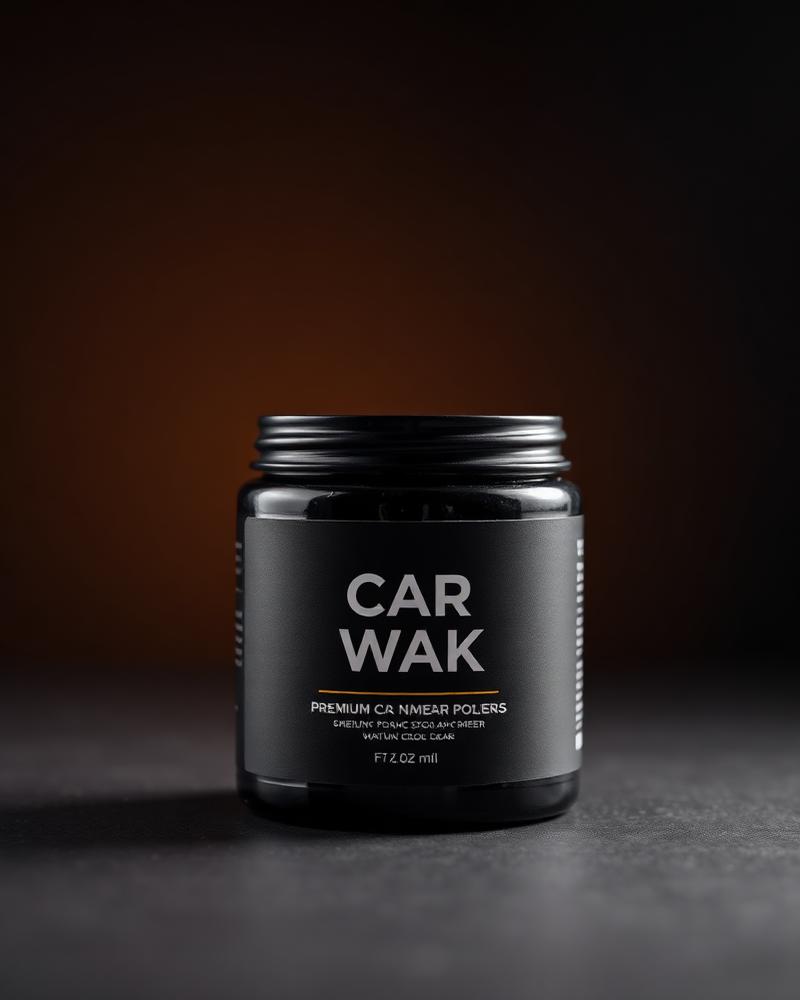
Brazilian carnauba paste · warm depth

Prep

  • Make sure the car is washed, decontaminated and fully dry.
  • Work in 18–24 °C — too cold and the paste hardens, too hot and it smears.
  • Use a soft foam applicator and at least two short-nap microfibers.

Steps

  • 1Glide the applicator across the surface of the tin once — a thin coat is enough.
  • 2Apply in straight overlapping lines on a 60×60 cm panel.
  • 3Wait until the wax hazes (3–5 minutes); swipe-test with a finger.
  • 4Buff with a clean microfiber in long straight passes, flipping often.
  • 5Second coat after 12 hours for extra depth on dark paint.

Pro Tips

  • Less is more — a tin should cover an entire car 4–6 times.
  • Layer over a ceramic coat for added warmth without losing hydrophobics.
  • Top up every 8–10 weeks for show-car gloss.

Avoid

  • Don't wax over rubber, matte trim or plastic — it leaves white residue.
  • Avoid wool buffers; they create swirl marks in soft clear coats.
Tire Slick Black04 / 06

Tire Slick Black

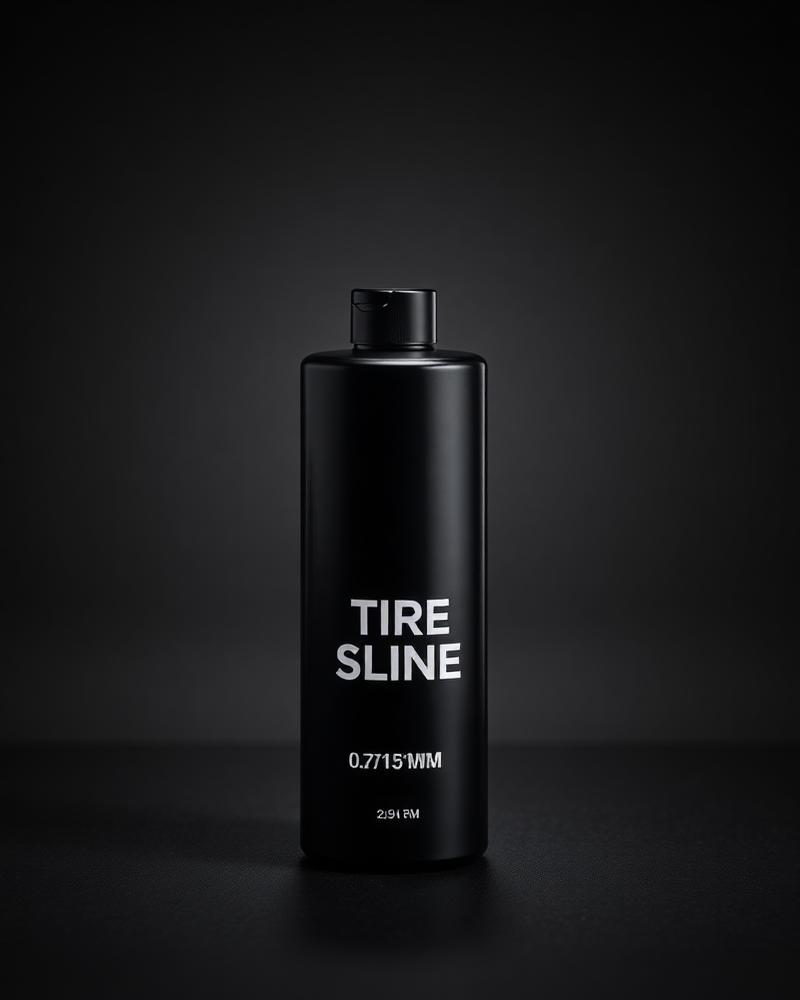
Satin finish · no-sling formula

Prep

  • Clean tires with a dedicated APC and stiff brush until foam runs clear.
  • Rinse thoroughly and let dry — dressing won't bond to dirt or water.
  • Mask wheel barrel edges if you want a perfectly clean transition.

Steps

  • 1Spray product onto a foam tire applicator (never directly on hot tires).
  • 2Wipe in even strokes around the sidewall in one direction.
  • 3Apply one coat for satin, two for high-gloss — wait 5 min between coats.
  • 4Final pass with a clean microfiber to remove excess (prevents sling).

Pro Tips

  • Apply the night before a show so any over-spray flashes off.
  • Combine with a tire shine restorer on faded rubber for the best base.

Avoid

  • Never spray directly onto the wheel — overspray ruins brake hardware.
  • Don't dress the contact patch (tread) — it reduces grip.
ModTile Garage Floor05 / 06

ModTile Garage Floor

Interlocking PVC · oil-resistant

Prep

  • Empty the bay and sweep / vacuum the concrete completely.
  • Patch large cracks; tiles bridge small ones but not gaps over 6 mm.
  • Acclimate tiles flat in the room for 24 hours before installing.

Steps

  • 1Start at the most visible corner — usually opposite the garage door.
  • 2Lay the first row dead-straight using a chalk line as reference.
  • 3Tap tiles together with a rubber mallet — never a metal hammer.
  • 4Trim perimeter tiles with a jigsaw or sharp utility knife and straight edge.
  • 5Install reducer ramps at door thresholds for a smooth transition.

Pro Tips

  • Mix tiles from multiple boxes to randomize any minor shade variation.
  • Leave 5–8 mm expansion gap at every wall — cover with baseboard.
  • Clean with mild soap and water; pressure-wash up to 1,500 psi.

Avoid

  • Don't park hot tires from a long drive on fresh tiles for the first 24 h.
  • Avoid solvent-based cleaners (acetone, MEK) — they craze the PVC.
HexaGlow LED Panels06 / 06

HexaGlow LED Panels

Magnetic mounts · 16M colors · music sync

Prep

  • Plan the layout on paper or use the LED Designer to size the run.
  • Locate a 110/220 V outlet within 3 m of the first panel — keep cabling hidden.
  • Wipe the ceiling clean; mounting plates need oil-free contact.

Steps

  • 1Screw the magnetic base plates into joists or use the included anchors.
  • 2Snap each hex panel onto its plate — they self-align via locating pins.
  • 3Daisy-chain panels with the short connector ribbons before powering on.
  • 4Plug in, install the app and follow the on-screen pairing wizard.
  • 5Calibrate the room: set a White Balance scene at 5000 K for true colors.

Pro Tips

  • Group panels into zones (lift bay, workbench, showcase) for scene control.
  • Use music-sync mode at 60–70% brightness — full brightness hides dynamics.
  • Schedule a 'sunset' auto-fade to extend LED lifetime.

Avoid

  • Don't mount on textured popcorn ceiling — magnets won't hold flush.
  • Avoid running power through an extension cord rated under 10 A.